
How to Customize a BAHA Soft Band
A Bone Anchored Hearing Aid (BAHA) is a device that transmits sound to the inner ear directly through the bone of the skull, rather than through the ear canal. It can aid hearing in various scenarios when regular hearing aids won’t work, such as when people have conductive and mixed hearing loss. While older children and adults can have the device implanted, younger children often use a BAHA soft band to hold the device in place.
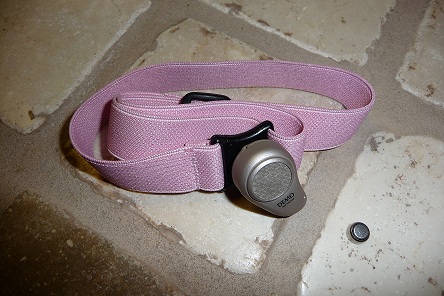
Image Source: http://earcommunity.com/wp-content/uploads/2012/01/OtiSBP10408871.jpg
Our now 5 year old daughter was born with conductive hearing loss and over the past few years, we’ve become quite familiar with our BAHA.
Deciding to get our daughter a BAHA was an easy decision for us. She responded really well to the loaner device and tolerated the soft band that keeps the device in place well too. What wasn’t so easy was deciding which colour of soft band to get! I know, call me superficial and petty but I really wanted it to be something cute and fun for her to wear.
While there are retailers and makers that sell customized bands, I decided to make my own. Here, I’ll share my tips and tricks on the things I’ve done to customize our daughter’s BAHA soft band. (There are also choices like stickers and stick-on jewels for the actual device but I won’t be covering those here.) Although some of this may not apply directly for boys, I hope it will give you all some ideas and inspiration.
Accessorizing the soft band
We chose a baby pink soft band for our little princess. Although the band was a nice enough colour, I decided to accessorize it! I liked the idea of being able to dress it up in different ways so I came up with a swappable design. Another obvious consideration was that it had stay in place securely and stand up to the rough play of little ones. My solution was to sew on small, carefully placed snaps to the headband; that way accessories like bows and flowers could easily be snapped into place.
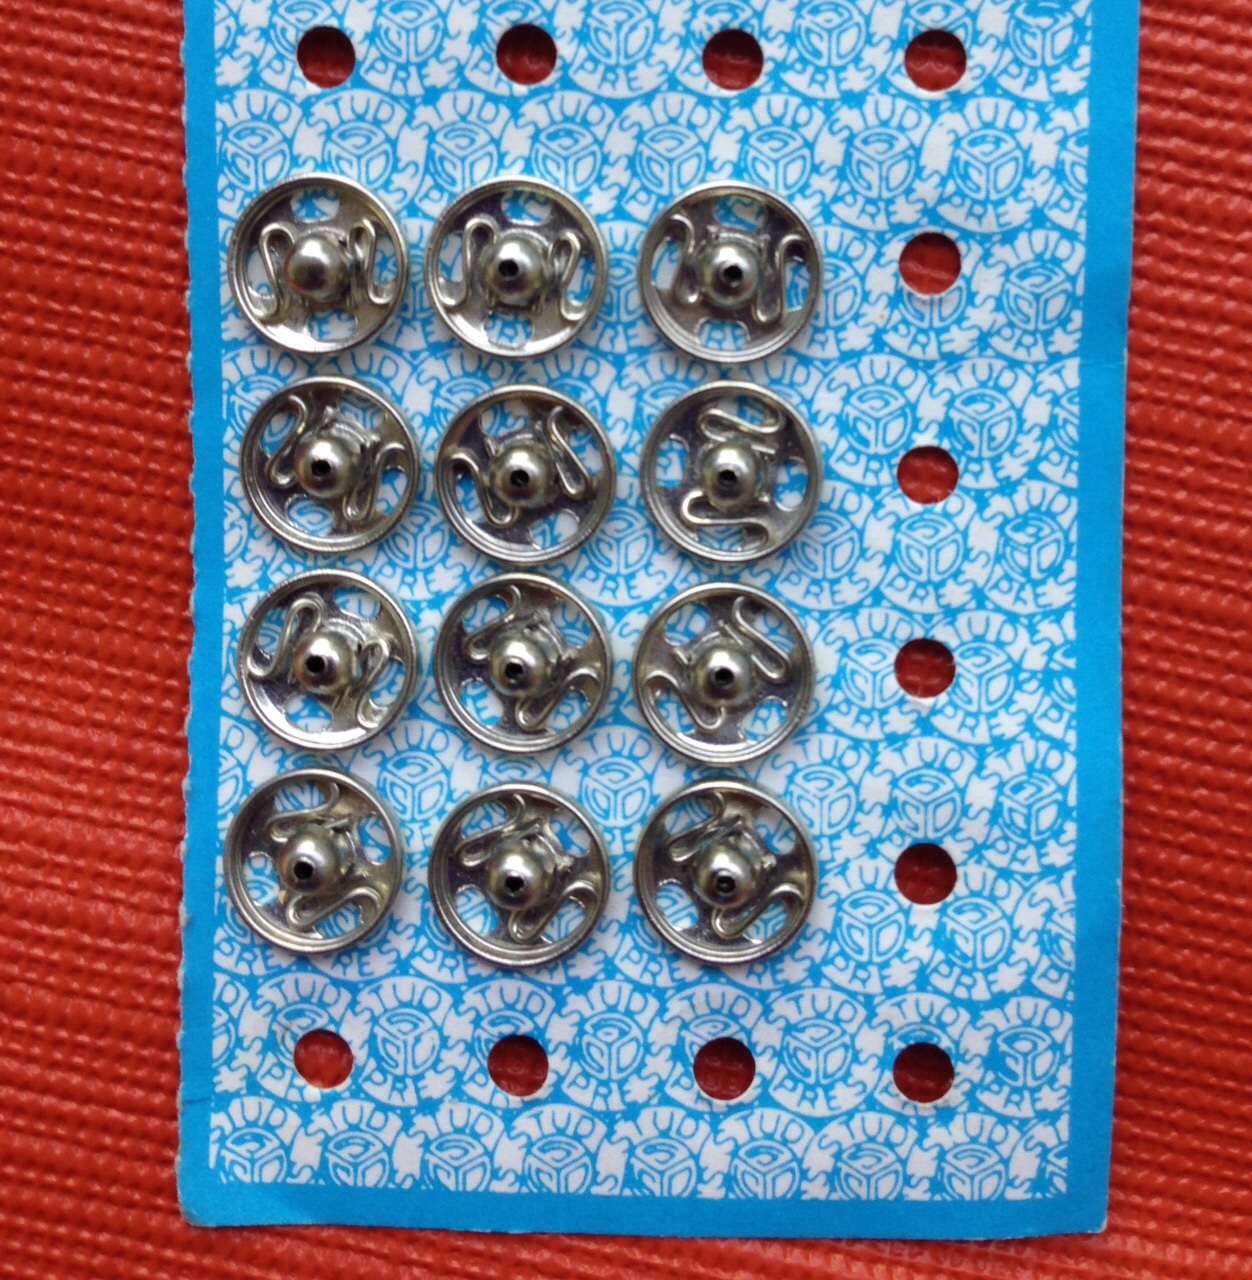
These snaps can be bought at any sewing/ craft store
Here’s how I did it:
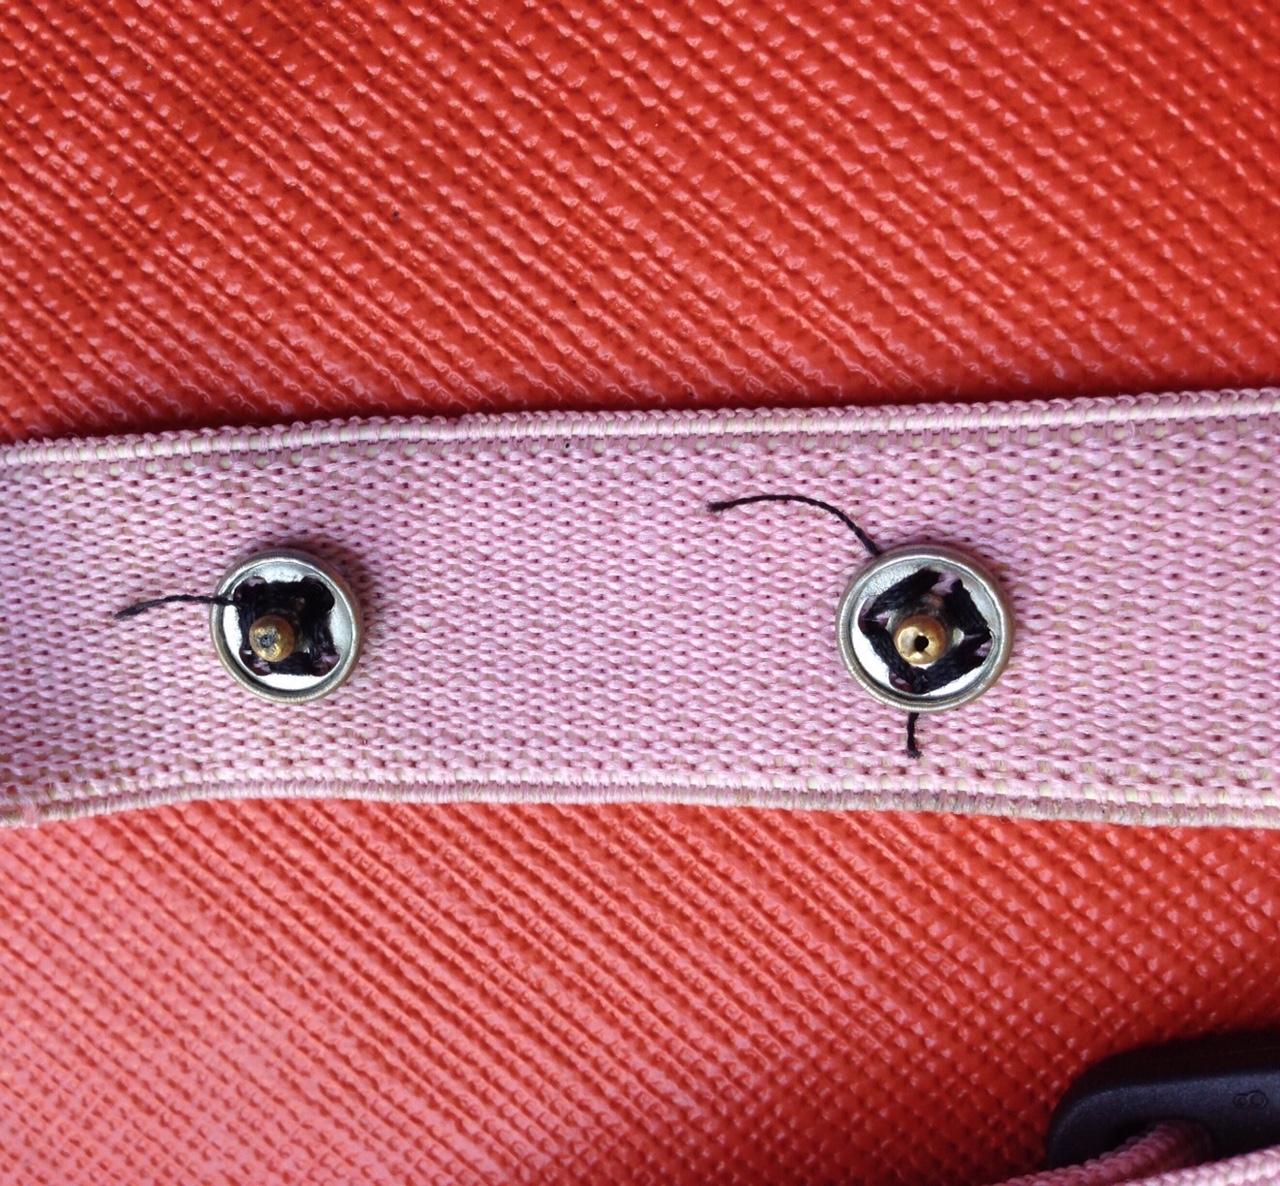
- Make pen marks on the top of the band where you’d like the accessory to sit, and sew the snaps into place. The thread won’t be seen so you can use any colour you have on hand. Sewing the snaps here is essential since the band here will be stretched/ moving frequently.
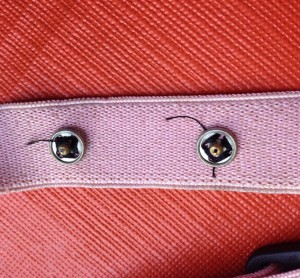
snaps sewn into place with bumpy bit UP
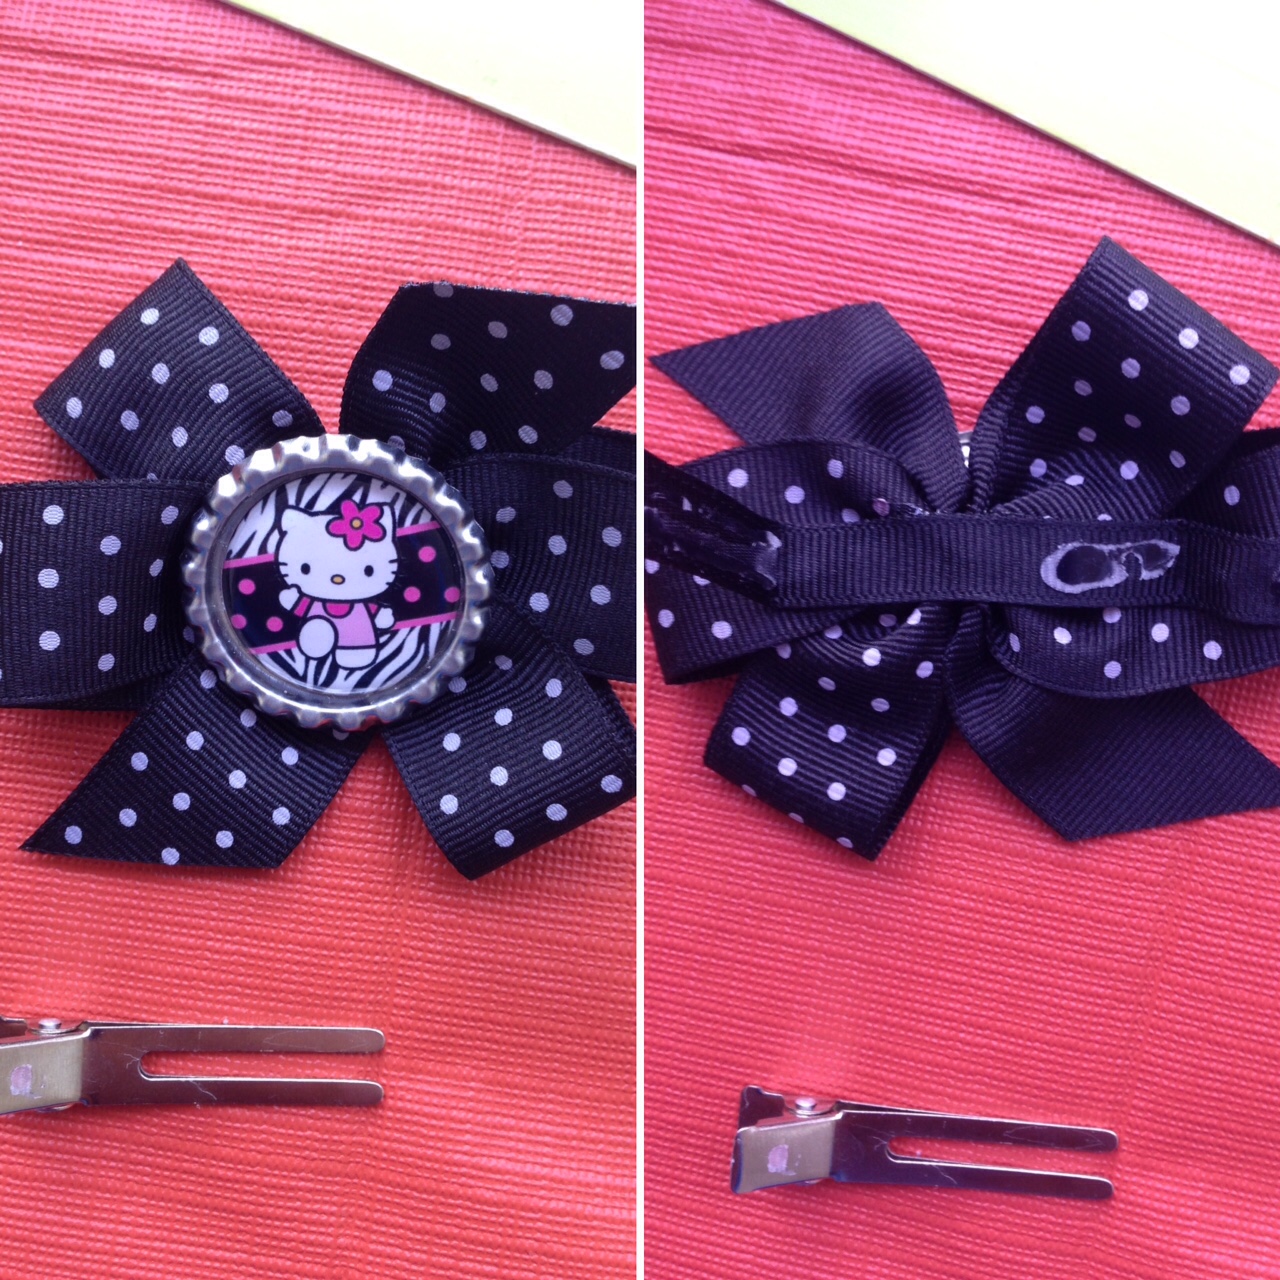
- Sew or crazy glue the other part of the snap onto the accessory of your choice. The choices are endless but I cut accessories like bows and flowers from store bought headbands or regular hair barrettes.
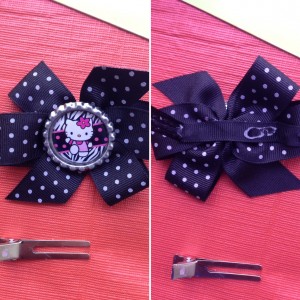
I took this bow off the barrette and cut off the excess ribbon.

I have tried hot gluing them with poor results. Crazy glue works best.
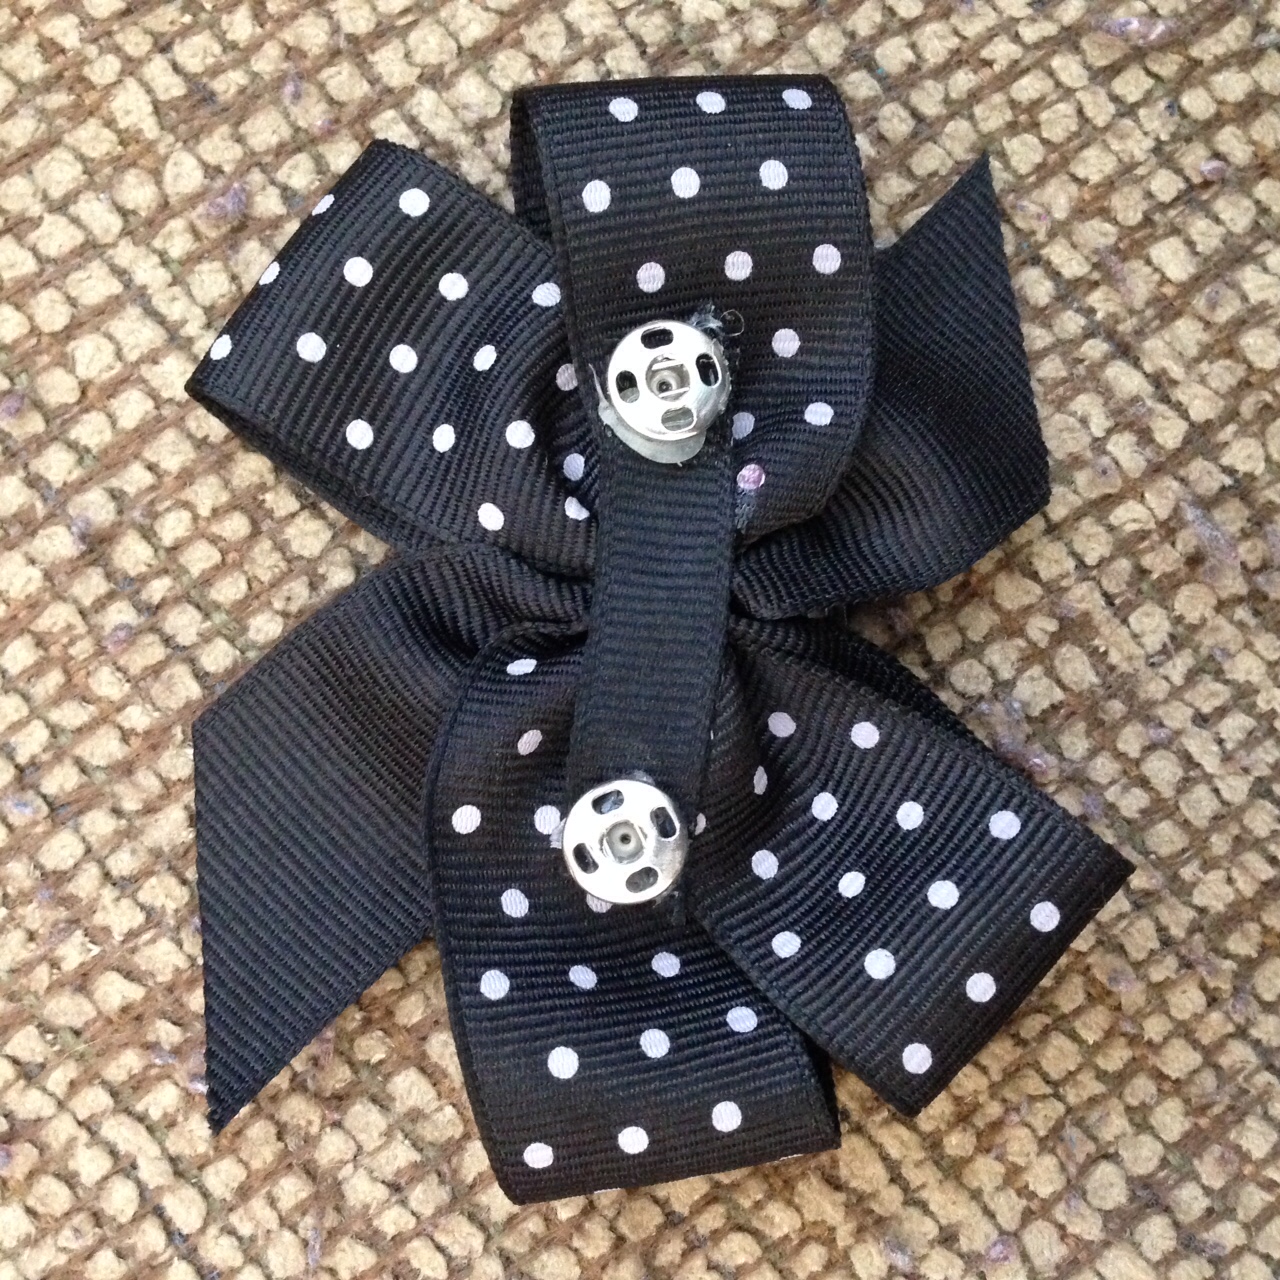
Then it’s easy to switch the accessory to match the style of the day and grow your collection!
Making a soft band
This essentially meant that our daughter couldn’t wear the band “naked” since the snap buttons would show. We never wanted to wear the band without an accessory so that wasn’t really an issue for us but the solution is simple – have more than one soft band!
While you can order new ones from your device’s sales department, I chose to make my own with the plastic anchor and adjustor pieces.
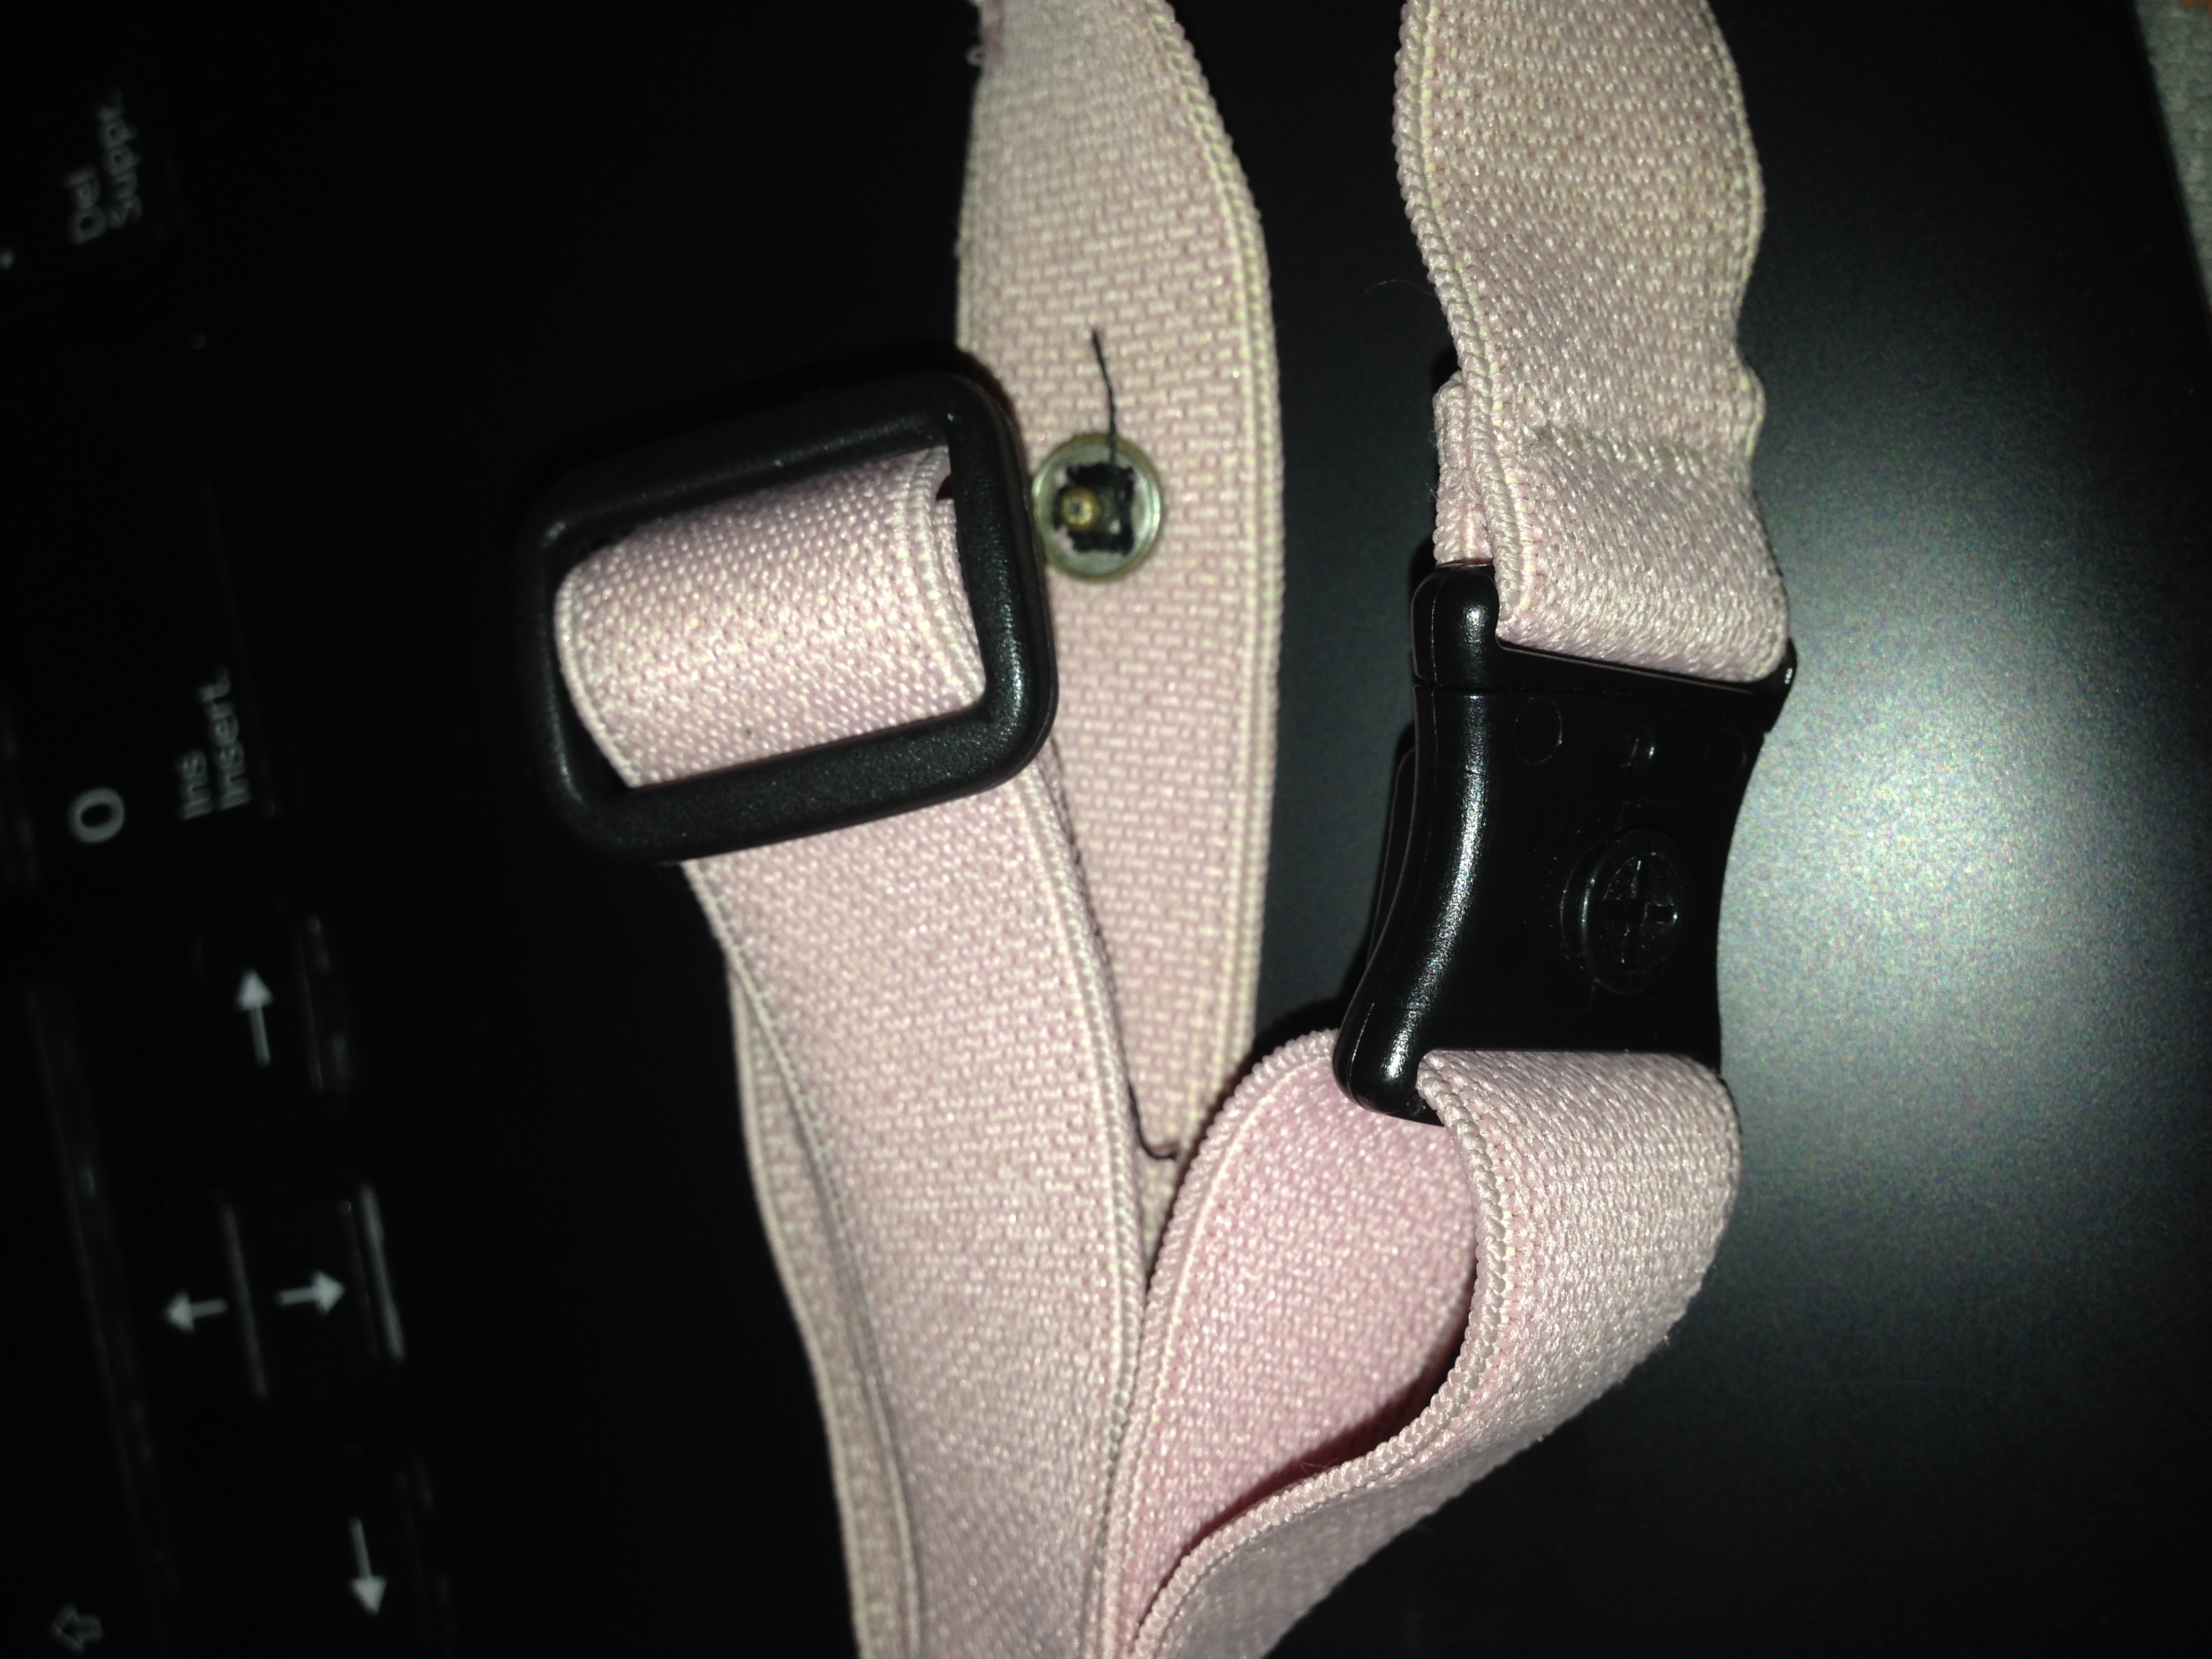
The shape of the anchor pieces will be slightly different for each manufacturer.
Any replacements that can be bought will be a simple band in one of a few colours: all functional but not very cute or fashionable. All it takes to make a new soft band is some detailed photos of the original so that a new band can be copied and sewed in exactly the same way. The other essential ingredient is the material. On this front, there is no shortage of choice – whether you choose Fold Over Elastic (FOE) or regular sewing elastic there are many options both on Etsy and eBay. There’s a huge choice in character elastic alone, from Superman to Strawberry Shortcake, and everything in between.
Here are some tips to consider when making your new soft band:
- Measure the size of your soft band and replace it with the correct width band. I used some cute FOE (Fold Over Elastic) that was just slightly narrower than my original band and although it worked ok, it did tend to move around more than I wanted.

See the extra space in the width? This allows that piece to slide around. It’s also a little too thin.
- Consider the thickness of the band. Again, the FOE that I used was thinner than the original. It did work but adjusting it was also a little fidgety as it tended to slide/ come loose more easily (see above).
- Look at the texture of the material. Smoother bands won’t hold in the hair as well (although this may depend on how your child wears the band; over the forehead may not make such a difference).
- At some point you will need to replace the plastic anchors too. (Your device’s manufacturer will have an appropriate lifetime for your hardware so check with them.). For kids that have unilateral hearing loss, I recommend getting a replacement bilateral band so that you will have one extra set of anchors.

In the early days, we were obviously making all the choices for our daughter, right down to the accessories she wore on her soft band. As she’s grown, though these customizations have given her greater choice and control over her hearing device and managing her hearing loss. Now she can help choose the clothes she wears AND what her hearing aid looks like. I really believe that something as simple as what her soft band looks like is helping her develop self- determination skills. This choice and involvement has certainly helped towards her acceptance and love of her device. That’s priceless in my book.
